![]() In order for you to understand a message sent from a laboratory instrument, such as test results for a specific patient, you need to design a template by which the message will be broken into different parts and interpreted into a readable format, which is understandable by the laboratory personnel and contained in a commonly used and highly transferable XML format file. As you design a specific template for a message from a specific instrument, the system can then apply it in order to translate other messages from that instrument. Designing this template does not require programming experience. Later, you can attach this translation object template to the specific instrument, as you define the instrument properties in the Instruments Inventory window. For more information about defining instrument properties, see section Instruments Inventory.The system will then be able to apply the interpretation rules and format designed by you in the translation object template to all messages that come from this particular instrument.
In order for you to understand a message sent from a laboratory instrument, such as test results for a specific patient, you need to design a template by which the message will be broken into different parts and interpreted into a readable format, which is understandable by the laboratory personnel and contained in a commonly used and highly transferable XML format file. As you design a specific template for a message from a specific instrument, the system can then apply it in order to translate other messages from that instrument. Designing this template does not require programming experience. Later, you can attach this translation object template to the specific instrument, as you define the instrument properties in the Instruments Inventory window. For more information about defining instrument properties, see section Instruments Inventory.The system will then be able to apply the interpretation rules and format designed by you in the translation object template to all messages that come from this particular instrument.
>> To configure a translation template
| 1. | Log on as a user with access to Utilities > SDMS Admin and open that branch. |
| 2. | Click on the Translation Objects tab to view existing translation object templates. |
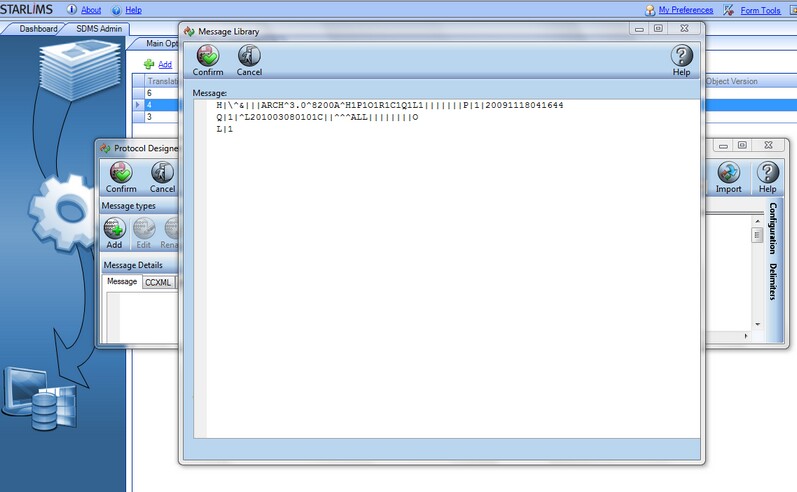
| 3. | To add a template, click Add. The Protocol Designer window opens with an initial Message Library pop-up window. Alternatively, to open a highlighted template, click Edit. |
![]() NOTE When you edit an existing template, a Versioning dialog box appears first, giving you an option to check out the document, or open it in a read-only view. For more information about versioning, see sections Versioning of templates, Check Out and Check In.
NOTE When you edit an existing template, a Versioning dialog box appears first, giving you an option to check out the document, or open it in a read-only view. For more information about versioning, see sections Versioning of templates, Check Out and Check In.
| 4. | In the Message Library window, enter the message content as received from the instrument, and click Confirm. |
| 5. | The entered message appears in the Protocol Designer window, in the Message layer tab. To start designing a translation template for this message, click the Delimiters option on the top-right side of the tab. Use the Delimiters pane to break down the message into nodes that you are going to define and add to the translation template. For more information, see section Setting Message Separators. To add an action script to further enhance your template, click the Action Script button. For more information on action scripts, see section Action Scripts. |
![]() NOTE The Delimiters option becomes available when you click the All object in the body of the Protocol Designer window, which indicates that the delimiters that you are setting now will apply to the whole message. Later, when you have already broken your message into a number of nodes, you will click on a specific node to which you want to apply specific delimiters, prior to opening the Delimiters pane.
NOTE The Delimiters option becomes available when you click the All object in the body of the Protocol Designer window, which indicates that the delimiters that you are setting now will apply to the whole message. Later, when you have already broken your message into a number of nodes, you will click on a specific node to which you want to apply specific delimiters, prior to opening the Delimiters pane.
| 6. | To add more content separators, select the relevant node in the body of the window, and after opening its Delimiters pane, click the Add separator link. Note that individual nodes become available for designing their child-nodes only after you have locked them using the Configuration pane, as follows in the next steps. Alternatively, stay positioned on the All object and add more separators to the entire message. Follow the procedure in section Setting Message Separators to add as many separators to the message as needed. |
| 7. | After you have added more separators to the message and have broken each node into child-nodes, you can further modify the nodes, while interpreting the coded meaning of each node. To do so, click on the relevant node in the body of the message to open the Configuration pane corresponding to it. For more information about configuring nodes, see section Defining Nodes and Records. |
![]() TIP Use the left-hand pane of the Protocol Designer window to help you navigate your message template building process. For more information, see section PMDO Navigation.
TIP Use the left-hand pane of the Protocol Designer window to help you navigate your message template building process. For more information, see section PMDO Navigation.
| 8. | Use the Dataset button to create a table from the values that you select from these you defined in your template. For more information, see section Generating Message Dataset. |
| 9. | To import another message protocol configurations, press the Import button, and select the relevant protocol from the list of the protocols that already exist in the system. For more information, see section Importing New Translation Objects Templates. Click Confirm to save your template; the Versioning dialog box appears. Remember, that if you are editing an existing template, you will have to select a version number for it. If this is a new template, enter the name for it in the corresponding field of the Versioning dialog box. |